


So, I thought I would share the girls' beds finished... Almost.
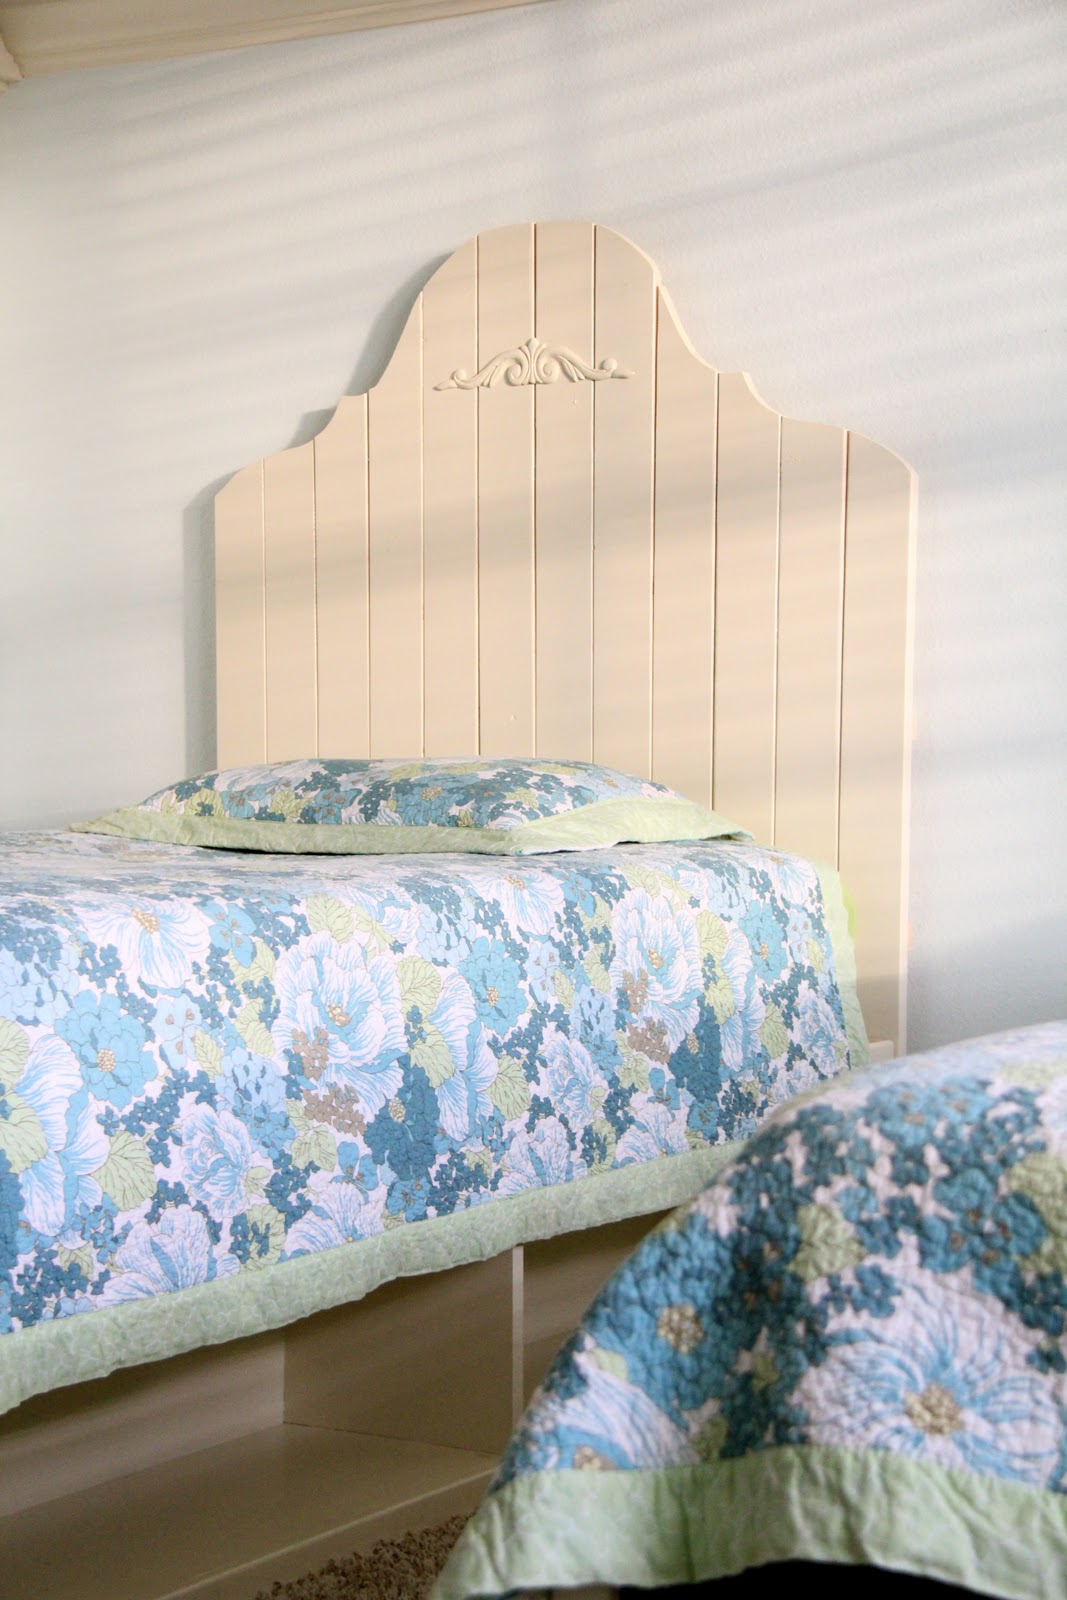
I love them! The only thing I still have to finish is the storage underneath. Here is one...

I wanted a functional storage bed with a fancy headboard.
HERE is the inspiration for my headboard!!
HERE are the instructions I followed for my twin storage beds!!
I spent right around $110 on each bed not including paint. I thought that was a steal for the function and cuteness I get from them :-)
As I went looking for baskets on Sunday I had an epiphany. I was having trouble finding baskets that made me happy at a decent price and I saw some unfinished wood crates at Joann's. I knew I could recreate them and that they would make the perfect storage. I made one to show you in this picture and I will show you in my next post how I did them. They were super easy and cheaper than any basket I found.


Hard to get them both in the picture with good lighting but I gave it a go anyway!


I'm pretty sure after now making two of these babies I could build one with my eyes closed. The building part was easy but I was kind of over the whole painting thing after one bed! However... I am so pleased with the results!!
These beds are the same color as their dresser.

I probably had 50 or so of you ask about that great Valspar paint color. I used semi-gloss with the primer mixed in the paint and these are the codes for those that still want it.
The number above the barcode is
107-35, 101-3.5
The number below the barcode is
2440-A-5483
Not sure which one the paint guy needs :-)
Next up... Finishing 576 or so storage crates for under the beds and then deciding on a nightstand to go in between the beds.
Hope you like them!! My girls do... And now they can't shove junk under the bedskirt... Whoop!
Finally... Thanks so much to all of you who leave sweet comments! I reply to those that I have a return email for but if you leave me a question in a comment and don't leave your email I can't return it. I'm not ignoring you... I promise :-)
~Whitney


23 comments:
those are so cute! I love the storage, but not quite sure how you could 'boy' up those headboards? Maybe just a rounded top? hmmm... something to ponder! lol!
Wow! Those are awesome! :o)
Great Job!
Absolutely love the beds (how can I not...considering I used the same inspiration bed to build our master bed!)
They turned out beautifully. And what a brilliant idea for storage!
I love the look of the dark wood crate next to the cream bed! They are beautiful!!!
Wow...great job!! I love your idea with the crates...VERY CUTE!! You inspire me!
The crates instead of baskets is genius. So much sturdier too. I just finished making a full sized storage bed for our guest room. I haven't painted it yet. I am not looking forward to that. Gonna wait until summer for that massive project. The full storage bed is a bit different and the cubbies are not as big. I used 2"X12" instead of plywood or 1"X 12" so my dimensions are a bit off. I hope those crates work for me too!
Back again...just checked Joannes.com and the crates would work well in my side cubbies. Did you put anything on the bottom to prevent scraping?
janeclifflittle@yahoo.com
oh man, i love this! i wish we could build something like this in a queen, but there are just too many things going on in our home now. way to go on this project!
Wow! I just love all these building projects you are doing. I've gone to the Ana White site and oh my goodness - so many ideas! Now instead of searching craigslist/the local thrift shops for a new king size bed my husband and I are thinking of just building our own!
So cute! I know two little girls that need a bed just like that! Maybe their Lolly and Mommy could get busy.
I am amazed at your carpentry skills! Is your husband in awe of you? He should be!
Okay Whitney I love the beds but I see one huge issue. Since,I have the same issue and it screams at me everytime I enter the room, I am hoping you may have a great idea to fix it. Those darn eave doors....The beds look great but against that eave door it steals the thunder. How do we eliminate them??????? You have got to have something up your sleeve. PLEASE!
great job! Adorable!
Hi! I'm a new follower and I love the beds and your creative storage containers!
Can't wait to see the finished room!
They look amazing! And the storage boxes are adorable!
you have got skillz!!! and i'm glad you posted that color info, cause it's perfect for a sidetable I have here on the neverending todo list.
What adorable beds-they will be able to use these forever-amazing what you can do!-Claire
these turned out darling! tfs! love the little shelf above the beds too!
uhm... you gals are AMAZING!! I hope to be as creative as you some day :)
I can't believe I'm just now finding your blog!
I love these beds! I converted the Ana-White Plans to a King size and built them, however I changed my mind and now I'm turning the king headboard into a daybed!
http://domesticjenny.blogspot.com/2010/09/build-bed-i-think-so.html
Love Love it...Just found your blog. it's wonderful...so many Fab ideas...
I will be getting the paint color...I have been looking for the perfect color....thanks so much
julie from
lifeatfirelakecamp.blogspot.com
to Jane above... try adding some self-stick felt to the bottom of the crates... i did this years ago with some baskets and it worked beautifully.
to shanty-chic... just found your blog and can't wait to browse through your projects! i hope you plan to show the finished girls' bedroom... i'd love to see the layout of furniture. it looks similar to my sons' room layout and i've been thinking about putting the beds the same way. (they're up against the wall right now)
:-) Laura B.
Post a Comment