Monday, May 31, 2010

Flat Folded Rosettes & A Lamp Shade

Happy Memorial Day!  I'm back with my second of three tutorials on fabric flowers.  These will be the folded rosettes I used on my wreath.


Here we go!

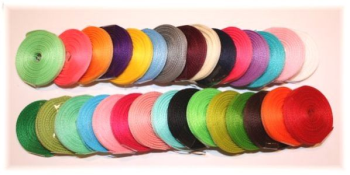
I started by cutting a 3" strip of fabric.  I used a blue linen from Hobby Lobby for these and I love the thickness of it.


I cut that strip in half which gave me two 3" strips.  This will be enough for 2 rosettes.

I ironed one of my strips in half.


After ironing it in half I opened it up and ironed each side to the center line... Just like bias tape.


And the other side...


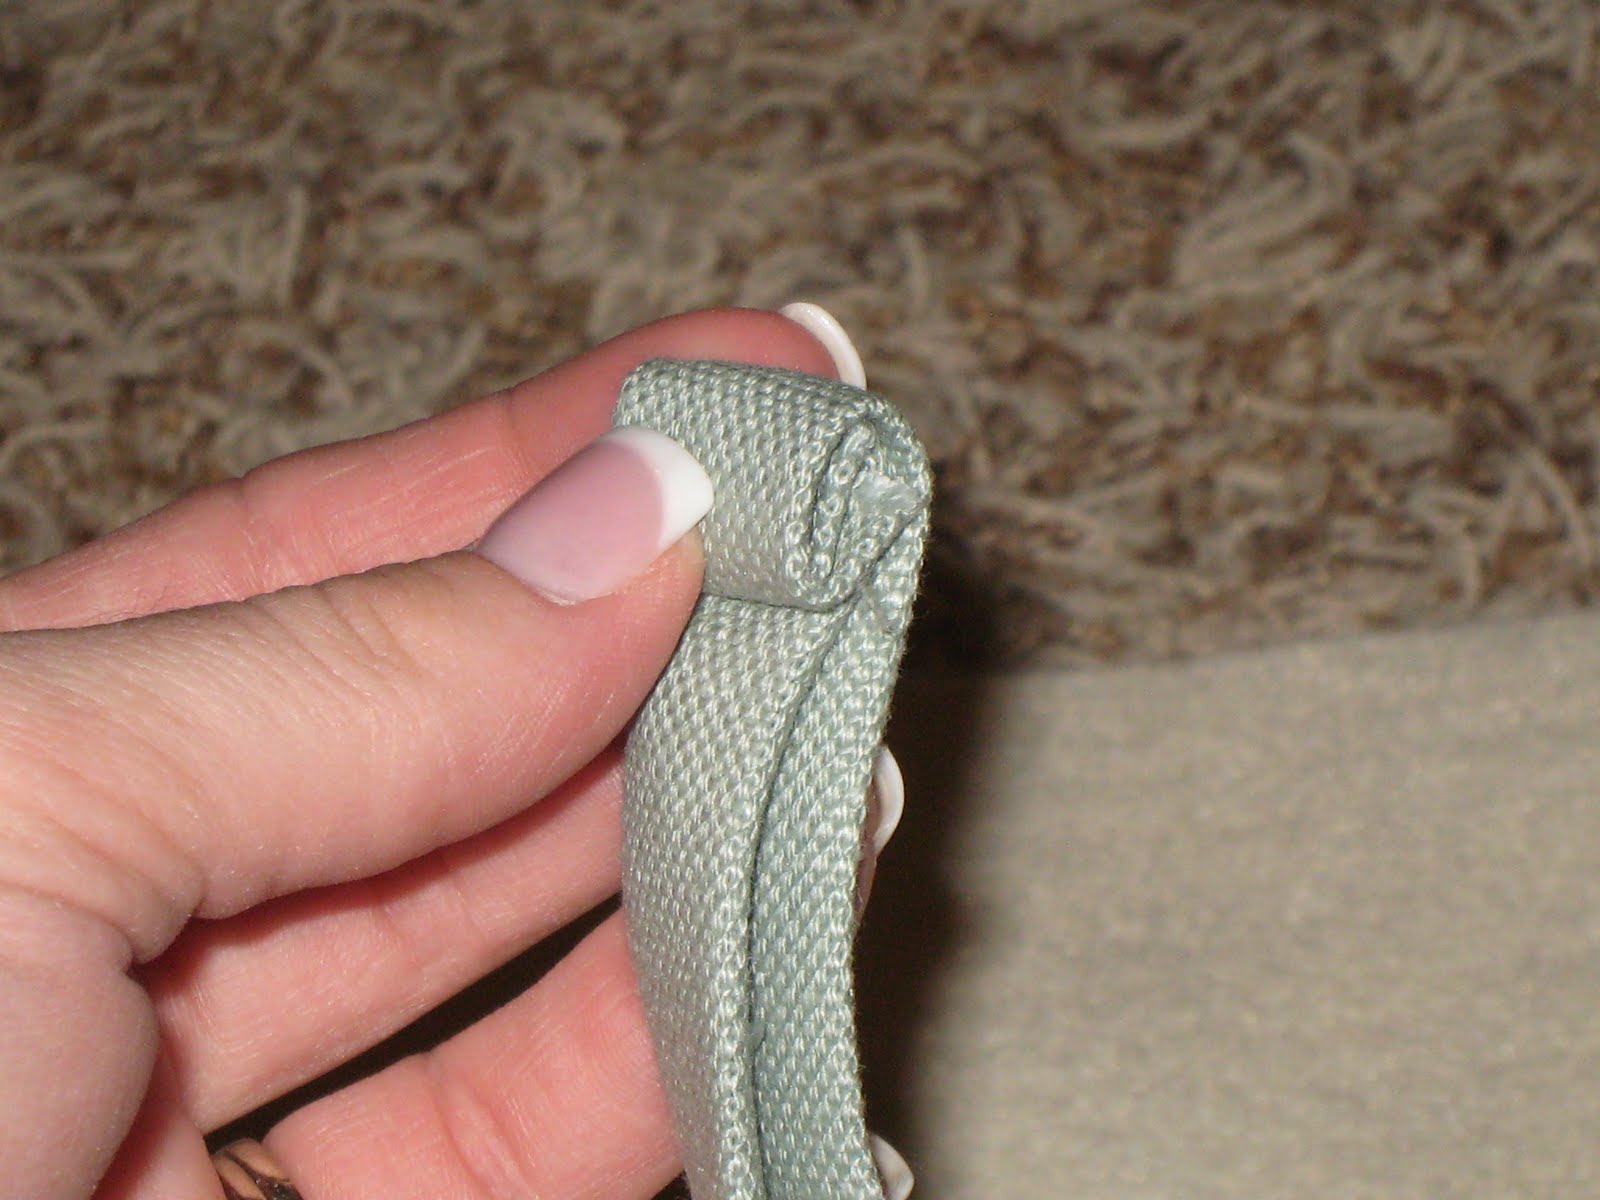
Now I folded the strip in half to form my tape.


I ironed that down to hold everything in place.

Next, you will need a piece of felt as your backing.  I just used some extra cream felt I had.


I started by rolling one end of my fabric two times like this.


I put a large dab of hot glue on my felt and pressed the roll down until it was dry.


Now it's time to roll and fold.  I will do my best to explain this... It's super easy!

I just wrapped a little bit of the fabric around the roll I had already glued down and then fold the fabric down and to the outside of the center roll.  I dabbed some hot glue behind it to hold everything in place. 


Then you literally just repeat this step over and over.  There is no science to the spacing.  I just eyeballed it and I would add a fold as I thought it looked best.


Every time I folded I would add a dab of hot glue under it to hold it in place.


Just remember... The top of your fabric piece will go out and down with every fold.


The flatter you glue it down the wider and more open your rosette will be.


Once you have come to the end of your fabric strip leave about an inch or so and cut your felt around the bottom of the rosette.  Wrap the extra piece to the back and hot glue it like this.


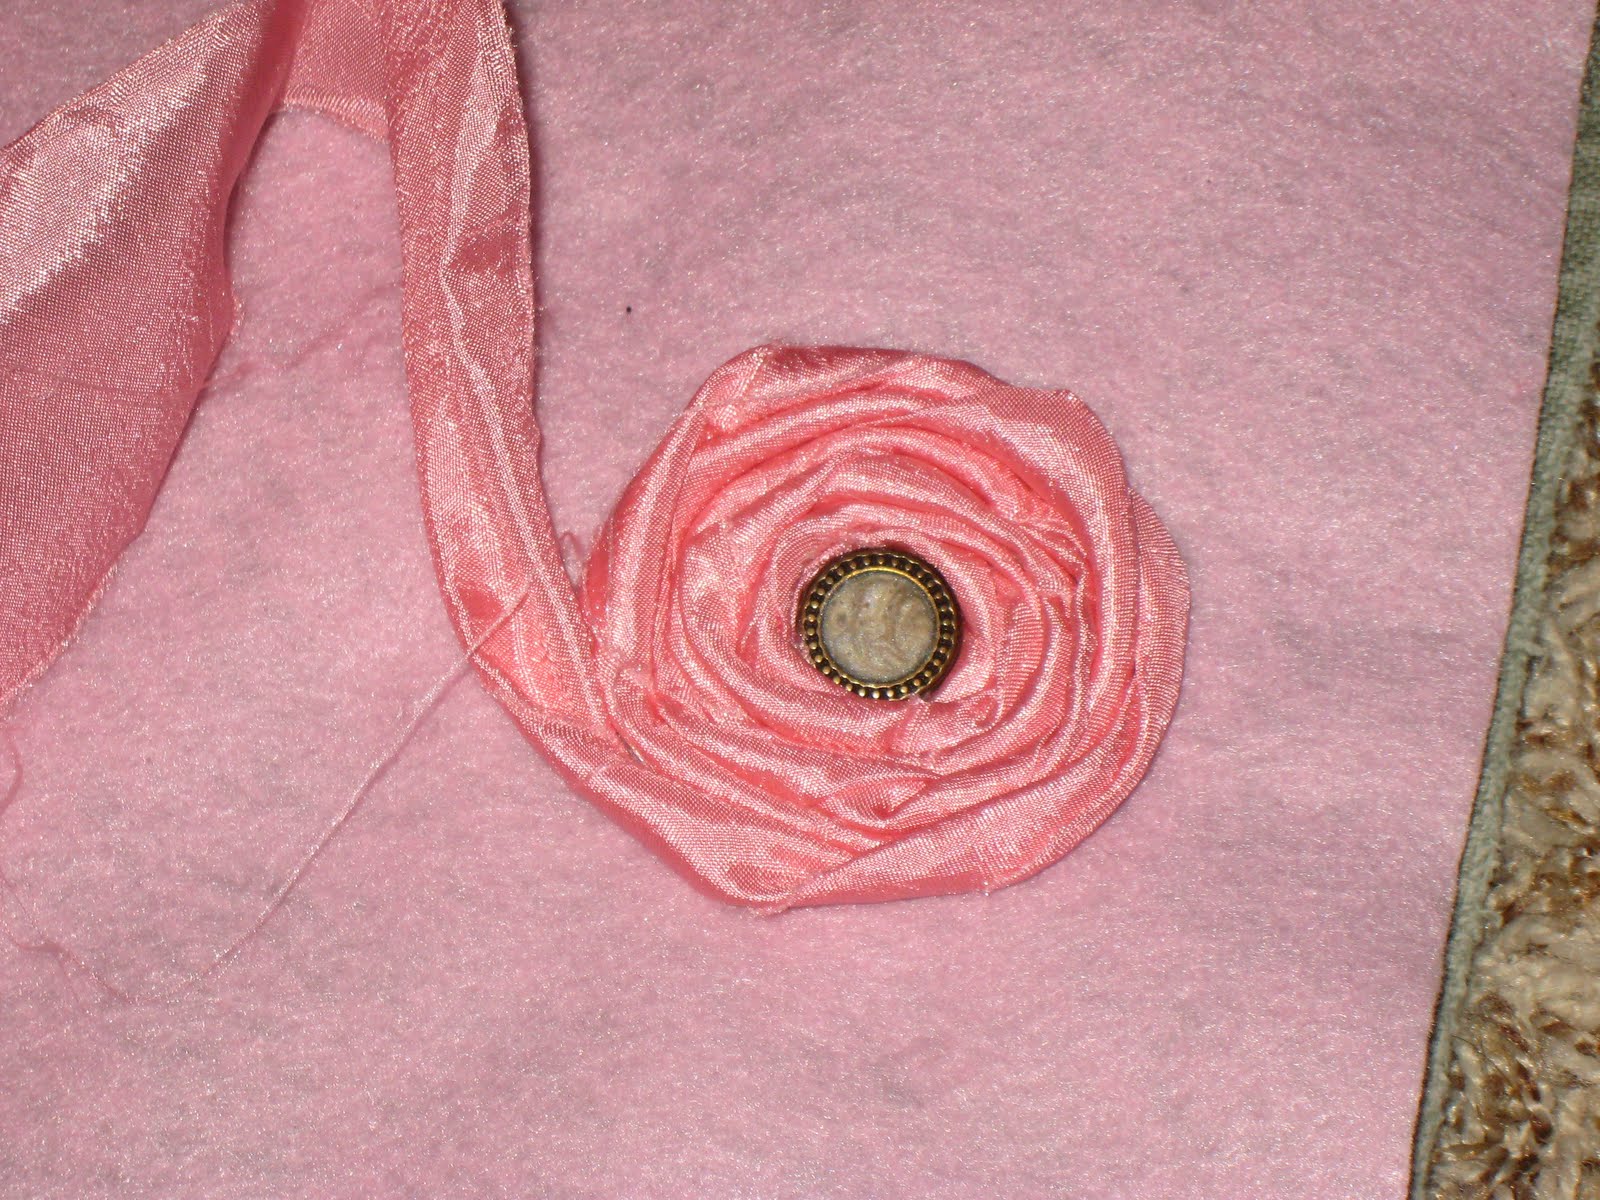
Here they are finished but missing a little something...


Some cute buttons I hot glued to finish them off...


How easy was that??  Want to see where I put mine??  Remember my lamp shade makeover a while back?  Well, I thought it was looking a bit naked.


Ooh... I love these! I could put them everywhere... And I probably will :)

Thanks so much for stopping by guys!! Let me know if you have any questions and have a great week!!

Don't forget I Made it Without My Hubby is coming up on the 7th.  We have a super fun giveaway for the winner so get those crafts and projects ready ladies!!


~Whitney

 
post signature

Saturday, May 29, 2010

Flat Rolled Rosettes - No Sew Baby!

This will be my first of three tutorials on fabric flowers.  I went googleing a few weeks ago for some tutorials and after reading a few, I came up with a few of my own methods that I felt saved me lots of time.  The first one I want to share with you gals is a rolled rosette.  These are super easy and quick to make.  I start with a piece of felt the color of my rosette fabric.  I got mine at Hobby Lobby for $.25 a piece.


For these flowers you will want to use double sided fabric... Not sure if there is a more technical term but that is how I see it.  You want a fabric that is not just printed on one side.  For my fabric I used this silky solid I found at Joann's for $2.50 a yard.


I started by cutting a small cut about 1.5" from the edge of my fabric.


Then I just grabbed both sides of the cut and ripped it all the way to the other end of the fabrc.  That left me with a 1.5" strip.


You will need a button for your center piece.  I love the look of vintage buttons so I chose these from Joann's that gave me a vintage look.


I folded my fabric in half.


I then put a drop of hot glue on my felt.


I put my folded fabric down on the glue and then glued my button to the top of that.


Now it's time to roll! I kept my fabric folded in half as I rolled my fabric away from the center button.


I would roll about 3-4" and then wrap them around the center button.  As I wrapped I hot glued the rolls down to the felt.  I did not have to use much hot glue at all.


Keep rolling and gluing!


The tighter you roll your fabric the skinnier your flower will look.  I would loosen it up a bit at different places to change it up a bit.


I finished rolling until I had about 2" left of my fabric strip.


At this point I waited for the last of my glue to dry good and then I used a pair of scissors to cut the felt around the flower.  I was careful to use very little glue on the last wrap around the flower so I could cut my felt just a bit smaller than the width of the flower.  Once that was cut I glued my remaining fabric to the back of my rosette.


That's it!  You are done.  The back is a bit shanty so if you are worried about that just cut another small circle of felt and cover the back.  Here are a few that I made...


I used two strips of fabric back to back on this last rosette.  I cut them a bit skinnier and didn't worry about folding them in half.... So cute!  These will all be for clips but I will be making more for around the house.  Next I will show you girls how to make the folded rosettes I used on my wreath.


They are just as easy and again... No sewing!  I'm sure there are so many ways to make these cuties but I wanted to show you guys how I had the best luck.  Let me know if you have any questions at all.  Thanks so much and have a great weekend!!

 
post signature

Wednesday, May 26, 2010

One Stop Shopping... So FUN!!!

If you haven't had the chance to go check out the girls at Ribbon Retreat, now is the time to get your booty over there!!


Let me tell you just a few things you are in store for...

They have over 96 colors of Schiff grosgrain ribbon! That's a whole lot of crafting!!

Ribbon Retreat


I used to buy most of my ribbon at Hobby Lobby until I realized how much money I would save by purchasing from Ribbon Retreat.  You get so much more product for your money!!

The Ribbon Retreat also just recently started carrying a fabulous line of
designer fabrics. Here are just a few of the designer lines they carry at great prices!


They also carry a great variety of notions and super cute patterns!!

One of my new favorite ribbons is their Moonstitch Ribbon.


How cute is that??! The best part is that they carry it in 18 different color combinations!

For those of you moms and grandmas that LOVE Gymboree, you need to check out their Made to Match Gymboree Color Lines.  There is no need to try and guess on colors.  Just check this page out for a complete line of ribbon to match each Gymboree line!!

A personal favorite of mine has to be their Crochet Kufi Hats!!


These babies are $2.25 a piece!!! I found the EXACT same hat with a small flower on it at Nordstrom for $26!  Now you can make your own for your little girls for a tenth of the price and there are 22 colors to choose from!!! WOW!

Another favorite I told you girls about a few weeks back is the bow instructions!  There can't be a tutorial anywhere that beats theirs!  I have used these instructions for bows around the house and at Christmas as well.  It's some of the best money I have ever spent!

You have to go check the Ribbon Retreat out girls!! I only mentioned a very few of the hundreds of products they carry for amazing prices!!  They are my go-to site for ribbon, fabric and SO much more!  Check them out, buy a bunch, save a ton of money and let them know the Shanty Sisters sent you!!


post signature
 
Designed by Deluxe Designs