Friday, July 16, 2010

A Crash... And Finally a Few Features!!

Hey girls!!  I have to apologize for the time it took to get this darn post up.  My computer finally went to see Jesus about three days ago.  It was only 2 years old but we have already put too much money into trying to save it.  So... The hubby bought me a new one and we are back in business... Woohoo!!

Now for a few features...

We loved this blue chic side table over at Every Crafty Endeavor!


Wow! Check out this blanket chest from old doors over at My Repurposed Life!!


Loved this kids' art wall idea over at Just Another Hangup!!


I love a good headboard bench like this one at Twice Lovely!


Check out this great master revamp and office space at Nichols Family of 4!!


How fun were those!!  You girls never disappoint!!  We put everyone that entered this month's party and added our button into a drawing from one of our very favorite sponsors!


The winner receives the bow maker, instructions and $25 gift card to get started!! WOW!  This month's winner is...

The Jack Pack!!

Entry #77
Congrats!! Send us your contact info and we will get it over to the girls at The Ribbon Retreat!!

Now get excited.... Because I have been without a life computer for the last few days I have been able to get lots of projects done.  I have 3 posts in the waiting which is unusual in my pregnant state.  I know Ash has a few to share with you too so we will see you guys very soon!!

Our next party is on August 7th!  We have a great giveaway lined up so get those projects ready... Without your hubby of course ;)

Finally... We are honored to be the guest judges this week over at the CSI Project.

Visit thecsiproject.com

We had lots of fun projects to choose from!  Go check it out and make sure to join one of their great linky parties coming up!!

Thanks so much!! Happy Friday!!!

~Whitney

post signature

Friday, July 9, 2010

Easy Accent Paneling

I should say easy and CHEAP!  I got to start on the nursery this week....which used to be my hubby's office.  I love the look of the paneling in this room over at Serena and Lily so I drew up my plans and went to Home Depot!


Whitney, being the wonderful sister she is, volunteered to come help me in this project!  I chose to do one accent wall, after much convincing from Whitney, and I'm so glad I did!  This wall measures 175.5".  Here is my purchase list:

6 Whitewood 1x4's @ 8ft.
2 Whitewood 1x6's @ 8ft.
1 box 1 1/4 finishing nails
1 Nail Finishing Kit
Blue Tape
1 tube of Liquid Nails for Paneling
1 tube of white all-purpose caulk
1 gallon of paint - I had Home Depot match to a sample of my trim color

I chose to use Whitewood boards because they are smooth and do not have imperfections.  They are more expensive but much easier to work with!


I started by marking off where I wanted the 1x4's.  I chose 20" apart because I like the look of having them spaced out and it worked well with the window and sockets.

We used a Ryobi Miter to cut the 1x4's to 4ft.  (making the boards under the window shorter).  You can use any saw for this because they are straight cuts.

We put a generous line of Liquid Nails on each board and placed them on the wall.  Our step dad, Tim a.k.a. Bapa, is a builder and he suggests pulling the board away from the wall and back on for a good set with the Liquid Nails.  So, we did:)  We followed up with 3 to 4 finishing nails in each board.  Looking good!

I used this nifty tool to hammer the nails all the way into the wood so you won't see them.  Very easy and you can get 3 for $1.99.

We attached the 1x6's to the top using the same technique and then turned a 1x4 flat on the top to form a shelf.  We made sure to sink wood screws down it through the 1x6 for good support.


I followed up by caulking EVERY corner, edge and hole left from the finishing nails.

Finally I taped off the walls to prep for the painting!  We used a paint roller for the walls and a paint brush for the wood, edges and corners.


Here's the before...

and the after!

After:)

I am so happy with the way this turned out and with Whitney's help it only took about 3 -4 hours!  I spent about $30 on the wood and about $30 on the paint!  Small price for the custom look it gives the room!  I still have a ton left to do in the room but this is a huge start!!! 

This post brought to you by Garage Sales Tracker!

Garage Sales Tracker

Stop by to find lists of all the garage sales and consignment stores in your area!  Check out their new App for your Iphone too:)

Also:  It's not to late to enter the "I Made it Without my Hubby" party!  Scroll down to enter!


post signature

Wednesday, July 7, 2010

I Made it Without My Hubby!!!

Hey girls!! It's that time again!! We want to see any crafts, projects or revamps you have been up to without the help of your man!  This month we have a fabulous giveaway from one of our very favorite places...


The winner of this month's party will receive Ribbon Retreat's amazing bow maker...


They will also receive the TOTT Instructions on making literally hundreds of great bows!!


And finally they will also receive a $25 gift card to the Ribbon Retreat to help them get started... Woohoo!! I want to win! :)


We will highlight a few of our favorites and draw from all participants for the prize.  Make sure you add our party button to your post or sidebar to be considered!!

Shanty2Chic


Thanks so much to Ribbon Retreat for hosting this amazing prize... Now let's link up!!  Just click the blue button below to add your link!


post signature

Wednesday, June 30, 2010

Lace Flower Tutorial

Hey guys! I wanted to show you gals how I made my lace flowers that I used here...


And here...


It all started when I stumbled upon this great stuff at Joann's.


It's called Wright's Flexi-Lace Hem Facing and it comes in LOTS of great colors.  It also comes in two different sizes but I prefer the larger 1 3/4" lace for my flowers.  I originally purchased it to make flower headbands for the new baby but then found myself gluing them to things all around the house.

I did sew these but don't click the red X just yet.... If you have a machine and you can do a straight stitch then these are a piece of cake!  You only need a ruffler foot like mine below.


You can get them at your local sewing machine shop or online.  Just make sure you get one that is compatible with your machine.  It's so super easy.  Just click it on and sew a straight stitch.  It does ALL of the work for you.  You can adjust it to gather as much or as little as you like... Can't beat that!

My first step was to open up my lace and cut it in half.  This left me with 2 strips of lace.  Then, I folded one piece in half like this.


I stuck the folded end into my ruffler and 30 seconds later I had this...


Next, I drew a circle on a piece of matching felt.  This just keeps me from making my flower an odd shape.  The rest is just hot glue! I made a circle on a piece of matching felt.


Starting with the outside of the circle I glued the folded edge down to the felt following the circle.


Once I reached my starting point I just moved to the inside of the first circle and continued gluing.


Once it was all finished it looked like this.


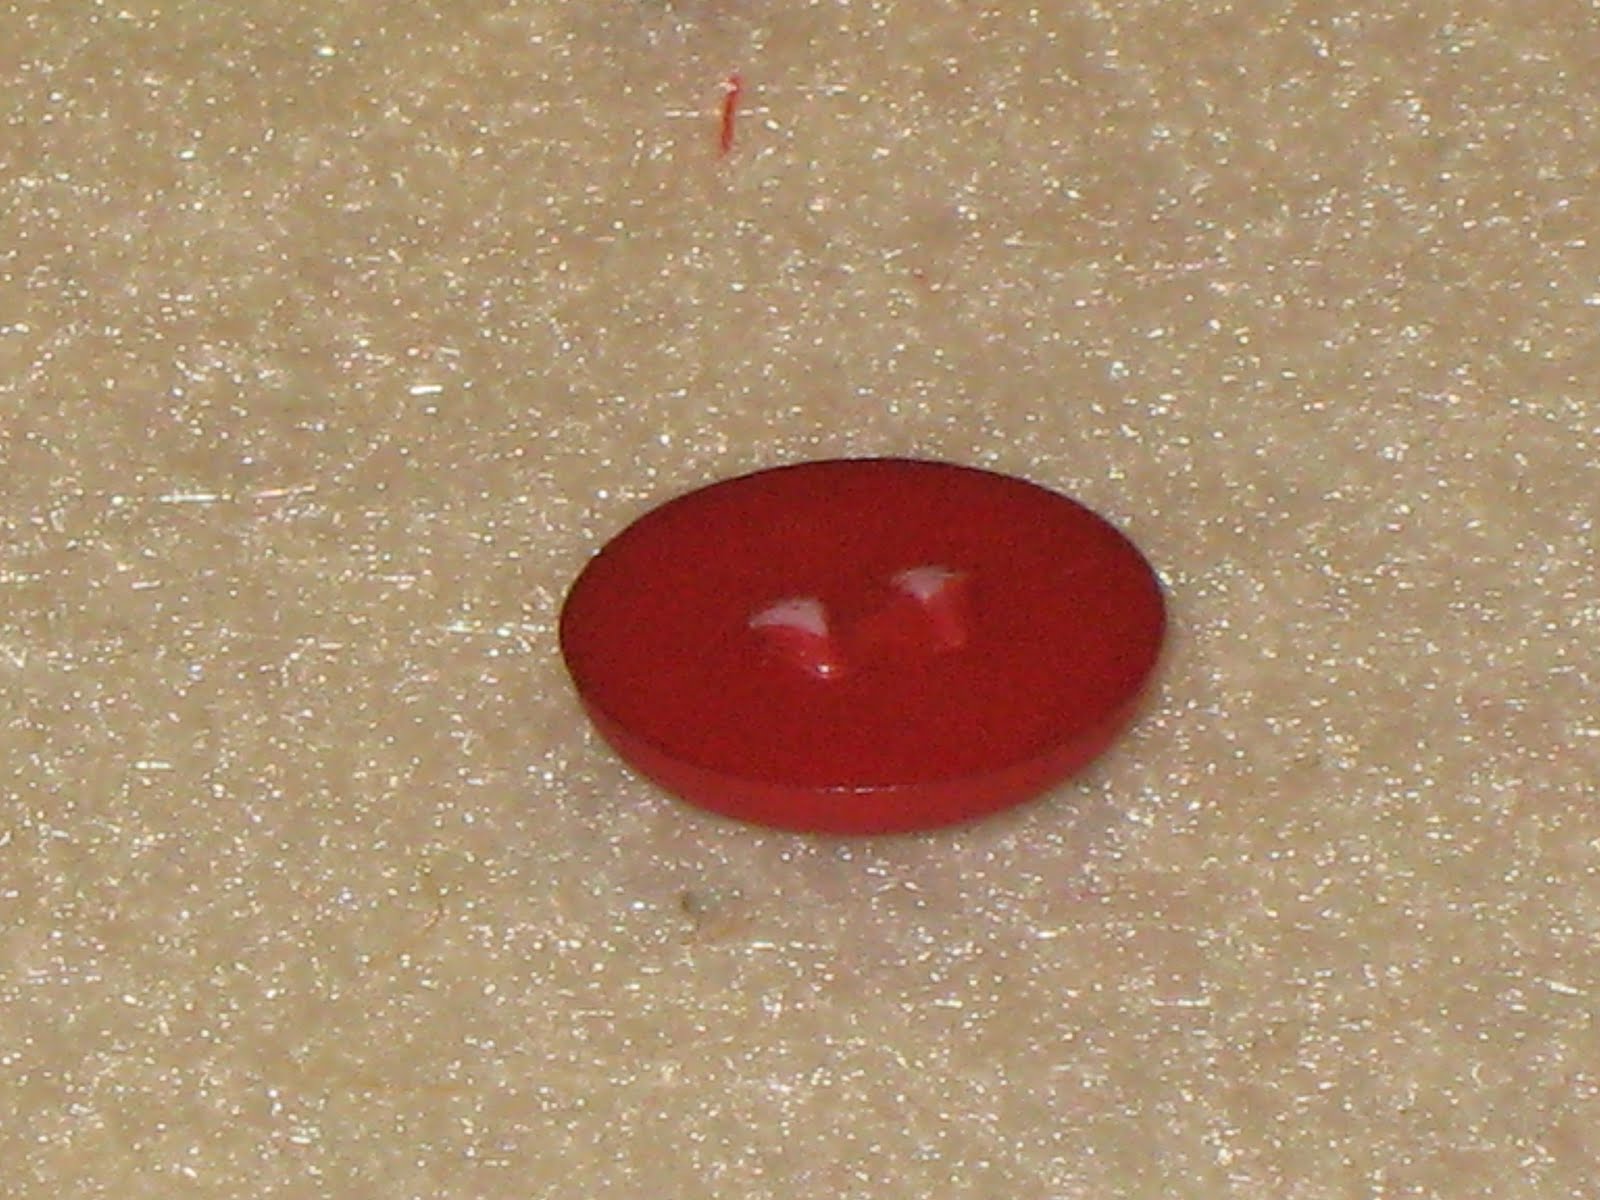
You can stop there or add a super cute button like I did.


I cut the shank off the back of the button using pliers.


Then I hot glued it down to the center of the flower.


Here it is all finished up...


My last step was to cut the felt from under the flower which leaves the back looking like this.


Now all you need is a cute place to attach it.  I added mine to my lamps and wreath but I will also be back to show you how to make SUPER cute headbands for yourself or your little princess.  It's becoming a bit of an obsession I'm affraid :) !  Hope you girls liked it! Let me know if you have any questions and go get yourself a ruffler foot... TODAY!  Happy Wednesday!


~Whitney

 
post signature

Monday, June 28, 2010

Thrifty Window Treatments

Hey guys!  I finally have window treatments in my living room!  It's been a year since we moved in and I am a little embarassed that I have only one room that has window treatments.....make that two now thanks to Whitney:) 

I chose to use the same fabric that I used in my dining room because the rooms are adjoining....and because I LOVE it!  You can get it at Hobby Lobby for $19.99 a yard but we always use 40% off coupons!  Whitney had a great idea to save money on these by using the canvas drop clothes from Lowes.  We needed one for both panels at a price of $13!  After that it was just 1 1/2 yards of fabric for $18.  I saved over $50 in fabric and I love the way the canvas looks. 

Whitney cut the drop cloth in half long ways and sewed the fabric right on top!  Doing this prevents you from having to line the back of the fabric.  I hemmed them myself with an iron and hot glue gun!  I just folded the ends up where I wanted them to hang, ironed a crease and secured with a thin line of hot glue.  I also went back over it with the iron to smooth out the hot glue.
I also installed the hardware on my own.  I used a favorite of ours by Allen & Roth.  You can find this line at Lowes and it has so many different finals, color and accents to customize your window!  It is a bit pricey but with the money I saved from the fabric it wasn't too bad!  I love this sconce in the middle of the two windows.  It allows the poles to meet in the middle without showing a seam!

Once again, I owe a huge thank you to my seamstress sister Whitney!  I couldn't purchase panels this pretty.  She created them and at a very low price!  Now on to the rest of my house....
~Ashley


This post brought to you by Dischangers!


post signature
 
Designed by Deluxe Designs