Hey guys!!
We are gearing up to spend Christmas with my in-laws. I love spending Christmas with them. They are the most creative people I know and I hardly ever make them anything... Why make them something that I know they could make better :))??
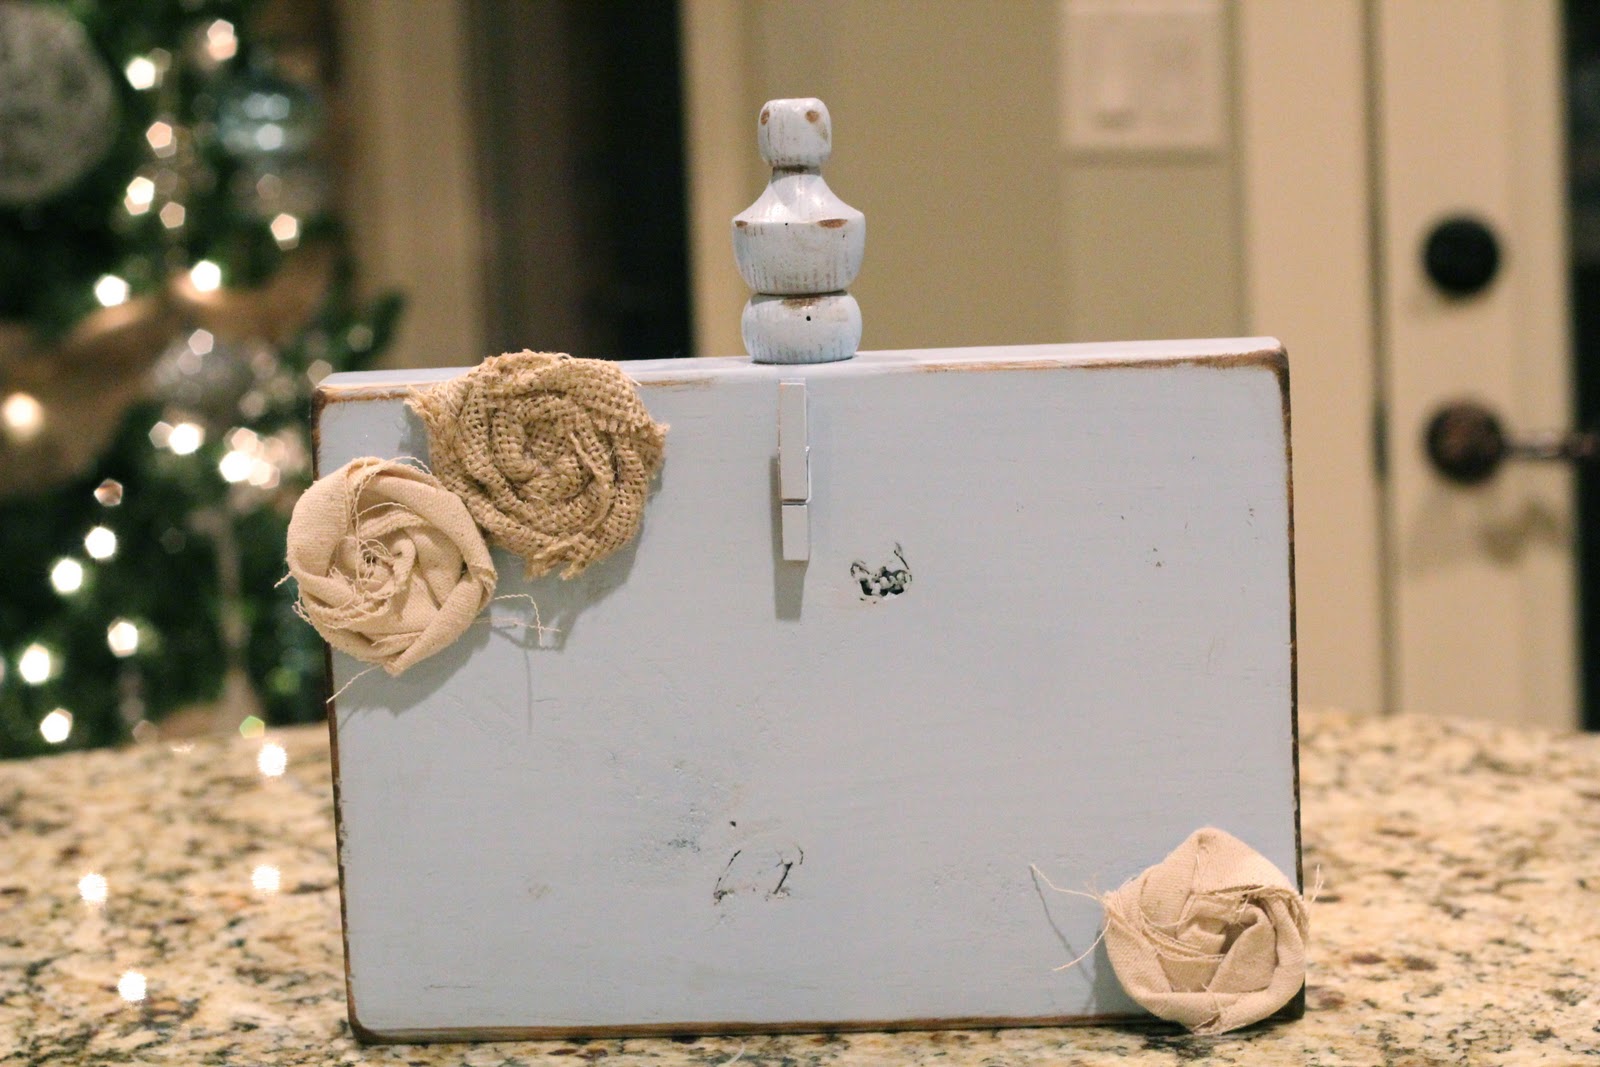
But... I decided to brave it this year and make them some family photo blocks. They love receiving new pictures of my kiddos and if you know me at all, you know that I love photo art! Here is what I made them...

Want to make your own? Here is how I did it...
I started with my wood. I purchased a 2x4x8 and a 2x6x8 from Lowe's.
You could just stick with one size but I liked the variation.
I cut my wood using my saw into squares. Since the 2x4x8 is actually 3.5" wide I cut each those 3.5".
The 2x6x8 is actually 5.5" so I cut those 5.5".
I also cut a long piece of the 2x6 about 20" long.
Then everything received a coat of my very favorite...

After spraying each of the blocks and letting them dry I used an 80 grit sanding block on the edges to shanty it up a bit.

Then I used some dark walnut stain on a sponge brush to darken my sanded edges. I just barely painted it on like below...

And then used an old t-shirt to wipe all of my excess off. This left my edges perfectly shanty.

Here they are ready for my next step!

I used a trimmer to cut my pictures down to size. For my little blocks I do 4x6 photos and my larger ones I like to use 5x7 but I only had 4x6 so I used those for this project. I cut each picture about 1/2" smaller than the blocks.

I then used some 3M photo safe spray adhesive to attach my photos to my blocks.

This stuff is great! You can leave your blocks like that or add a little Mod Podge like I did.

I like to use Matte Mod Podge.

I used a paint brush to put a thin layer over each block. I only did the side with the picture. It goes on white and dries clear.

Now I used my very favorite new tool for my next step!


I know I have shown you lots of things my Silhouette Machine can do. Here is another!
I used Silhouette's Brown Vinyl to cut out the word Blessings on my machine.
Here is what my computer looked like. I spaced the letters to get the most letters in the smallest space.

I then let the machine cut it out for me while I burped the baby :-)
I peeled the letters up from the sheet...

And attached them to my wood block. Cute... But missing a little something!

So I added a scrolly!

Yep... Much better!
After my photo blocks were all dry I stacked them on top and took a picture for you guys!


Another fun thing is that you can arrange the blocks however you want.


That makes them perfect for a fickle decorator like myself!
Hope you liked them!! These were so fun to make!! I can't wait to make some for myself that I don't have to wrap up. I am excited to see their reaction when they receive it though.
So... If you haven't jumped on the bandwagon yet it's time! Go wink at Santa and tell him you need one :-)
Have a great weekend!
~Whitney