Wednesday, February 23, 2011

DIY Wall Art

Happy Wednesday friends!  So, I have a quick, easy and CHEAP wall art tutorial to share with you all:) 

When I say quick I mean you can do this while you are doing laundry and cleaning the house:)  When I say easy I mean anyone can do this:) and when I say CHEAP I mean I only paid $3.00 for the entire piece!

Here's how you can do the same!

I started with a scrap 1x12 that I cut in half to make 2 21" pieces.  I didn't pick the measurement it just happend that the scrap piece was 42" long.

I then found a scrap 1x4 that I cut down to 2 pieces at 6" and 1 at 21".

It's coming along...


Next, I painted the 1x12's with Behr Cozy Cottage.  I chose latex paint because I knew I would have to use a lot of spray paint to cover this large of a piece.


Next, I stained the 1x4's with Minwax Dark Walnut.  While the paint and stain dried I did laundry...not fun but efficient!

I used Gorilla Glue Wood Glue to attach the 2 1x12's.  I liked the way it was looking but it needed a little more..

I have tons of iron crosses packed away that I am not using to decorate so.... let's try that!

Needs a coat of Rust-Oleum Blue Sky Spray Paint....


We have a winner but first a little distressing with my 3M sanding block...

I used Gorilla Glue Epoxy to attach the wooden cross to the board and the iron cross to the wooden cross.

I finished up with my 3M sanding block on the edges of the boards followed by Minwax Dark Walnut to enhance the distressed edges.  I rubbed the excess stain all over the boards as well and here it is....


I hope you all like it!  I will share a tutorial on how I am hanging it from the wall in my next post:) ~This is where the $3.00 expense comes in!

Thanks so much for stopping by!

~Ashley


post signature

Friday, December 24, 2010

My Sister's Gift

Here's to hoping she doesn't read this in the next 12 or so hours...

Hope you are all having a great Christmas week.  I have been more than busy getting gifts finished up because I am always last minute like that.  

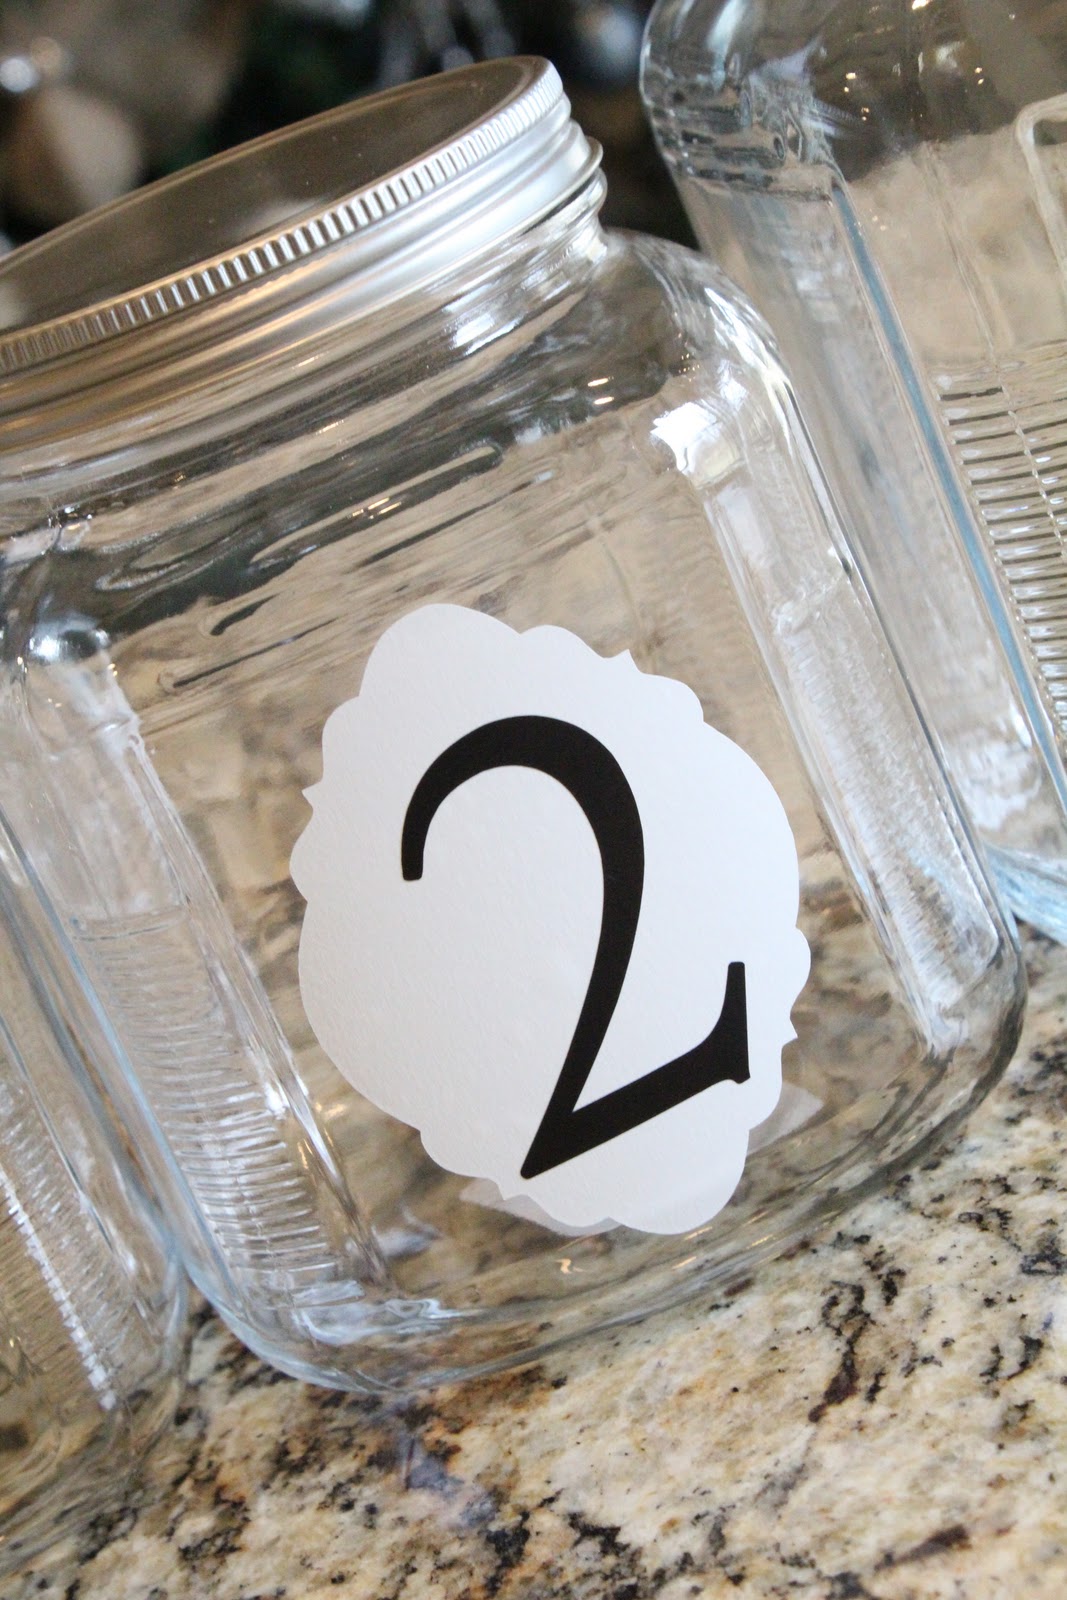
One thing I wanted to get for my baby sister were these jars I found at Wal-Mart.


I love everything about them!  I love how simple they are, the silver tops and best of all I love their price!! I bought all 3 for $15.  I have some just like it in my kitchen that I use as cookie and snack jars.  I also knew that I could cute them up a bit with my Silhouette Machine!!


I started by using some White Silhouette Vinyl to cut these super cute House of 3 Artisan Labels.  I measured each jar and sized the labels using the software to fit each jar.  After the machine cut them out I attached them to each jar!


Next I used some Black Silhouette Vinyl for my numbers. I sized each number to fit each label and cut them out.  I used the same font I used on my Blessings Photo Blocks which is Adobe Caslon Pro.

After the Silhouette Machine cut them out I peeled them and attached them to the labels.


Pretty simple, right?  But I think it adds so much to them and I love them!

I also used my Silhouette Machine to make her some photo blocks of my new baby niece.  I love how they turned out!


Don't you love the Red Silhouette Vinyl on the blue?  If you want the full tutorial on those click HERE!

Thanks so much for stopping by!  I hope you all have a great Christmas Eve and Christmas.

Don't forget to check out the Silhouette Machine and see all great things this baby does!  You will not be disappointed!!

~Whitney

1 John 1:7
But if we walk in the light, as he is in the light, we have fellowship with one another, and the blood of Jesus, his Son, purifies us from all sin.


post signature

Thursday, December 16, 2010

Photo Block Tutorial ~ Great Gift!!


Hey guys!!

We are gearing up to spend Christmas with my in-laws.  I love spending Christmas with them.  They are the most creative people I know and I hardly ever make them anything... Why make them something that I know they could make better :))??

But... I decided to brave it this year and make them some family photo blocks.  They love receiving new pictures of my kiddos and if you know me at all, you know that I love photo art!  Here is what I made them...


Want to make your own?  Here is how I did it...

I started with my wood.  I purchased a 2x4x8 and a 2x6x8 from Lowe's.
You could just stick with one size but I liked the variation.  

I cut my wood using my saw into squares.  Since the 2x4x8 is actually 3.5" wide I cut each those 3.5".
The 2x6x8 is actually 5.5" so I cut those 5.5". 

I also cut a long piece of the 2x6 about 20" long.

Then everything received a coat of my very favorite...


After spraying each of the blocks and letting them dry I used an 80 grit sanding block on the edges to shanty it up a bit.


Then I used some dark walnut stain on a sponge brush to darken my sanded edges.  I just barely painted it on like below...


And then used an old t-shirt to wipe all of my excess off.  This left my edges perfectly shanty.


Here they are ready for my next step!


I used a trimmer to cut my pictures down to size.  For my little blocks I do 4x6 photos and my larger ones I like to use 5x7 but I only had 4x6 so I used those for this project.  I cut each picture about 1/2" smaller than the blocks.


I then used some 3M photo safe spray adhesive to attach my photos to my blocks.


This stuff is great! You can leave your blocks like that or add a little Mod Podge like I did.


I like to use Matte Mod Podge.


I used a paint brush to put a thin layer over each block.  I only did the side with the picture. It goes on white and dries clear.


Now I used my very favorite new tool for my next step!

">Silhouette Electronic Cutting Tool


I know I have shown you lots of things my Silhouette Machine can do.  Here is another!

I used Silhouette's Brown Vinyl to cut out the word Blessings on my machine.

Here is what my computer looked like.  I spaced the letters to get the most letters in the smallest space.


I then let the machine cut it out for me while I burped the baby :-)

I peeled the letters up from the sheet...


And attached them to my wood block.  Cute... But missing a little something!


So I added a scrolly!


Yep... Much better!
After my photo blocks were all dry I stacked them on top and took a picture for you guys!


Another fun thing is that you can arrange the blocks however you want. 


That makes them perfect for a fickle decorator like myself!  

Hope you liked them!!  These were so fun to make!!  I can't wait to make some for myself that I don't have to wrap up.  I am excited to see their reaction when they receive it though.

So... If you haven't jumped on the bandwagon yet it's time!  Go wink at Santa and tell him you need one :-)

">Silhouette Electronic Cutting Tool


Have a great weekend!

~Whitney

post signature
 
Designed by Deluxe Designs